Mud on the walls . . .
A few weeks ago, we began plastering the interior strawbale walls. The first step was to build a practice wall so we could experiment with various recipes and application techniques for both the earthen plaster for the interior and the lime plaster for the exterior. The wall includes both inside and outside corners so we can hone our technique for applying plaster to curves. Eventually the wall will be taken down.

The bale walls must be prepped before the plaster can be applied to them. It helps to go around and fill in all of the seams, gaps, depressions, etc. with either a basecoat of plaster or a material called cob which is a very sticky mix of clay and straw.
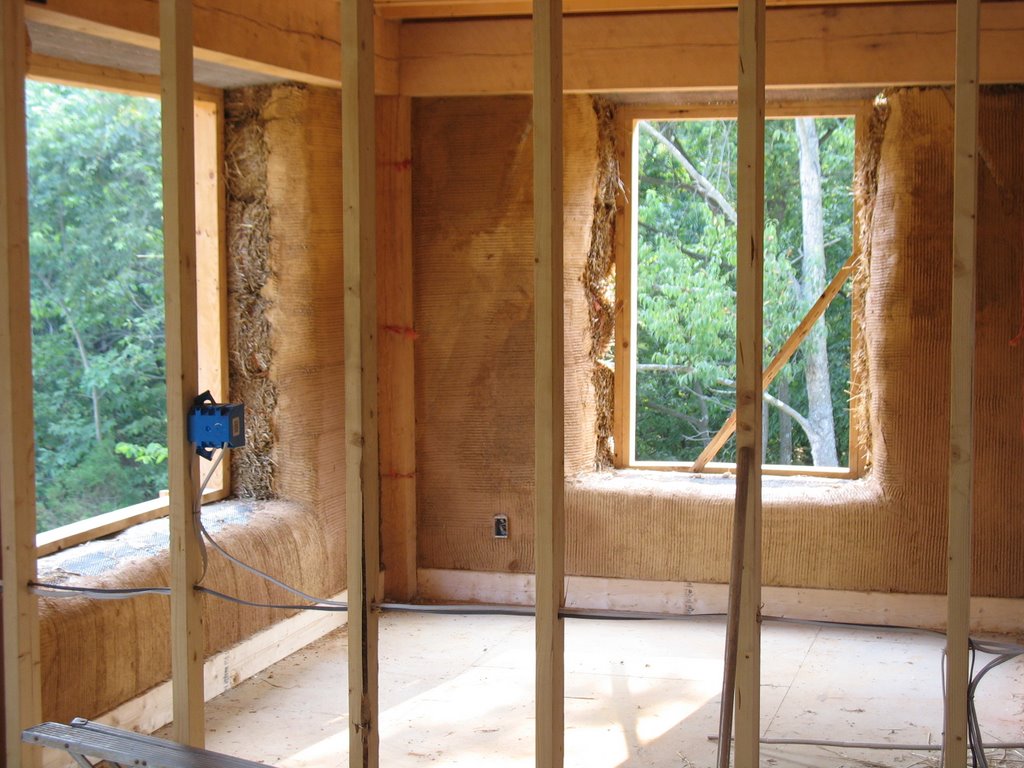
Seams between the bales and gaps around an electrical box are prepped with plaster . . .

Kristin stomps cob, mixing the wet clay with the straw to the right consistency . . .

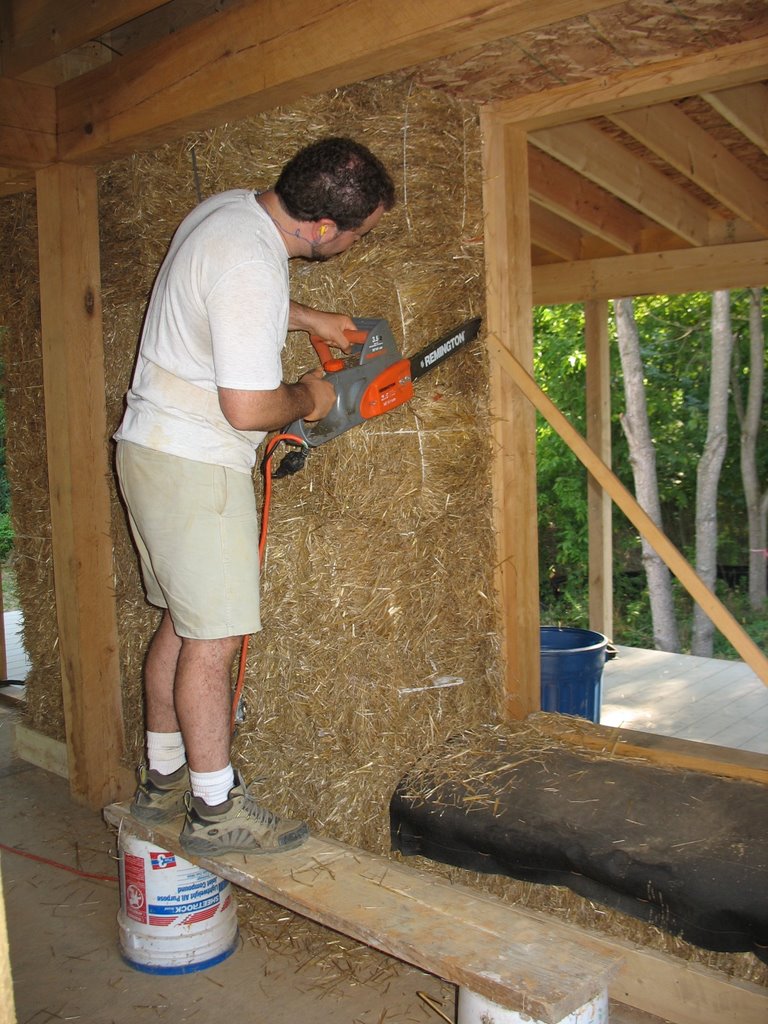
Jeff uses an electric chainsaw to even up a window jamb before applying plaster . . .
Kristin applies cob to even out a door jamb . . .

And now we're ready to put some plaster up on the walls. It will be a three-coat process. Here are some pictures of the first or what is known as the scratch coat . . .

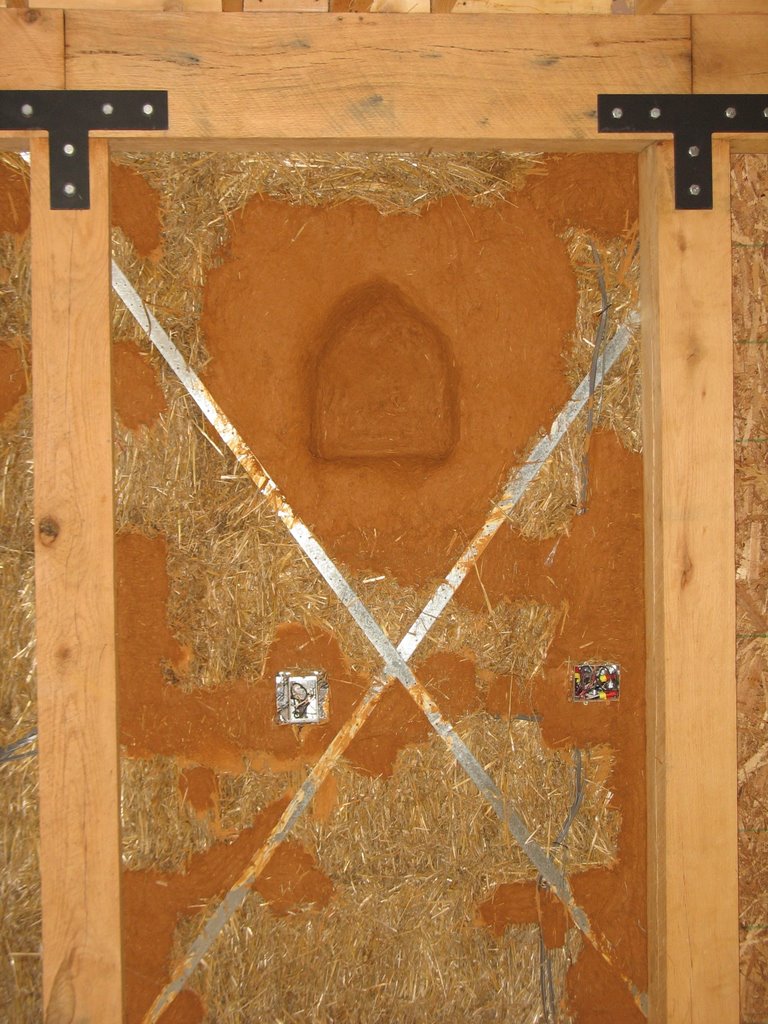
Strawbale walls, earthen plaster and clay-straw cob afford lots of opportunity to be creative and so we took advantage of this by creating some unique features in the walls. Here's a little niche we carved into the wall with the chainsaw. It has been coated with a cob mixture to help it keep its shape . . .
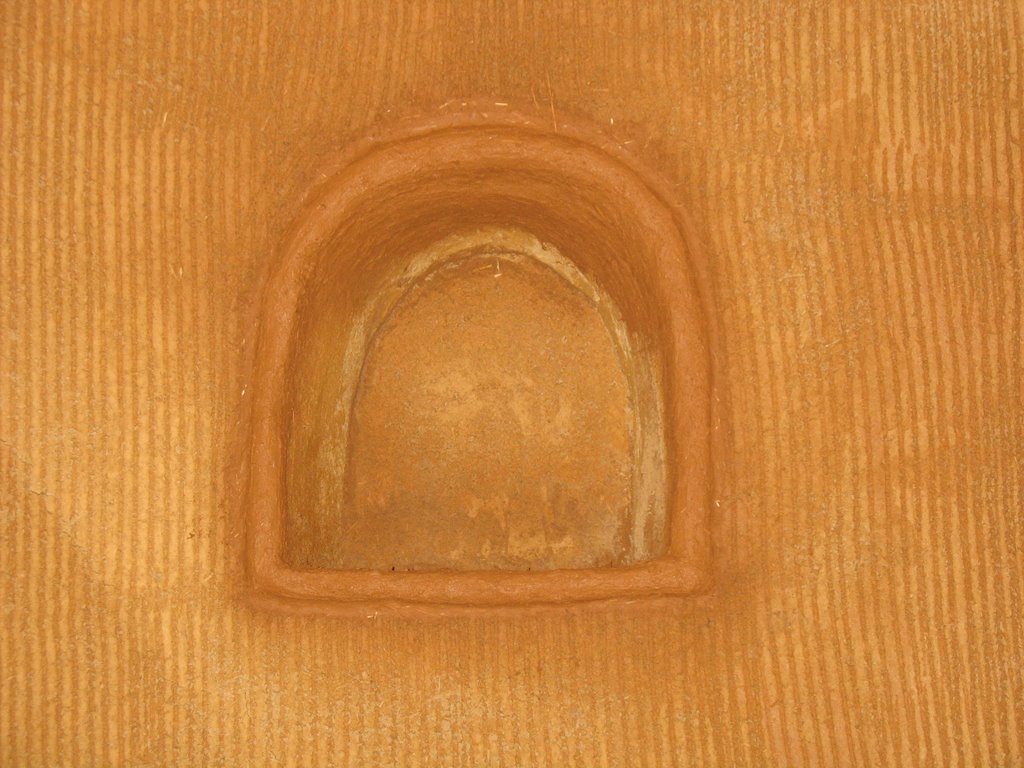
And here's the niche again after a little more plaster and cob work . . .
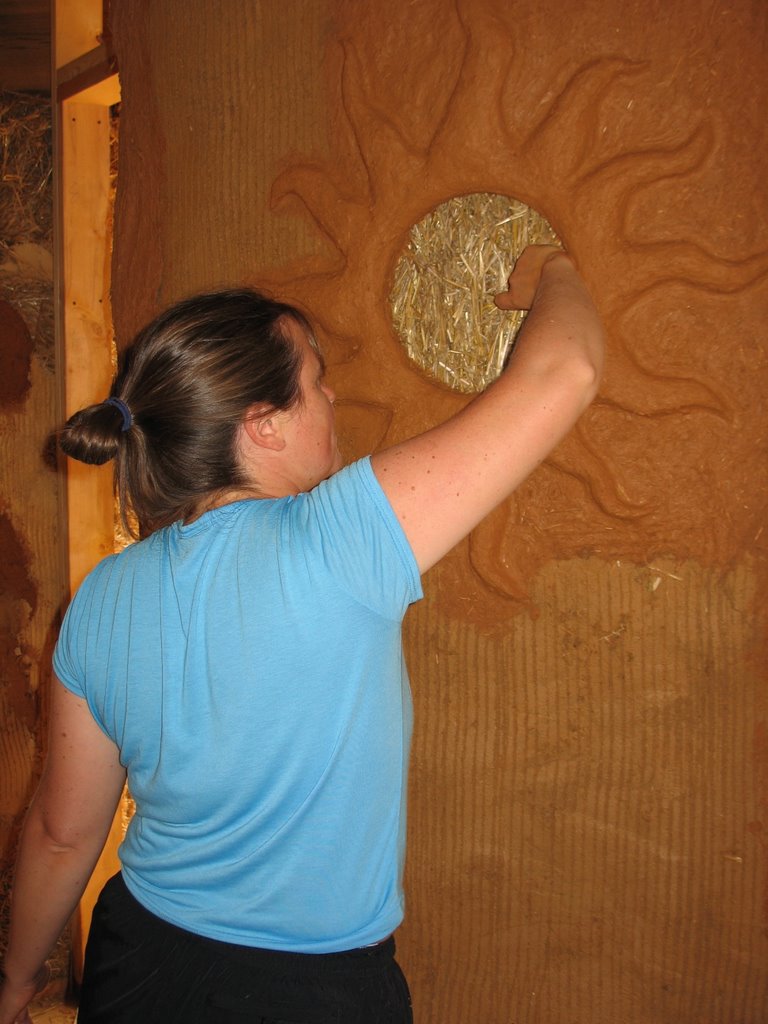
With plaster soon to completely cover the bale walls inside and out, all evidence of there being straw in the walls would be hidden but for the tradition of strawbale homeowners installing a Truth Window. Here's the one Kristin sculpted out of cob to allow unbelieving visitors to our house see for themselves . . .

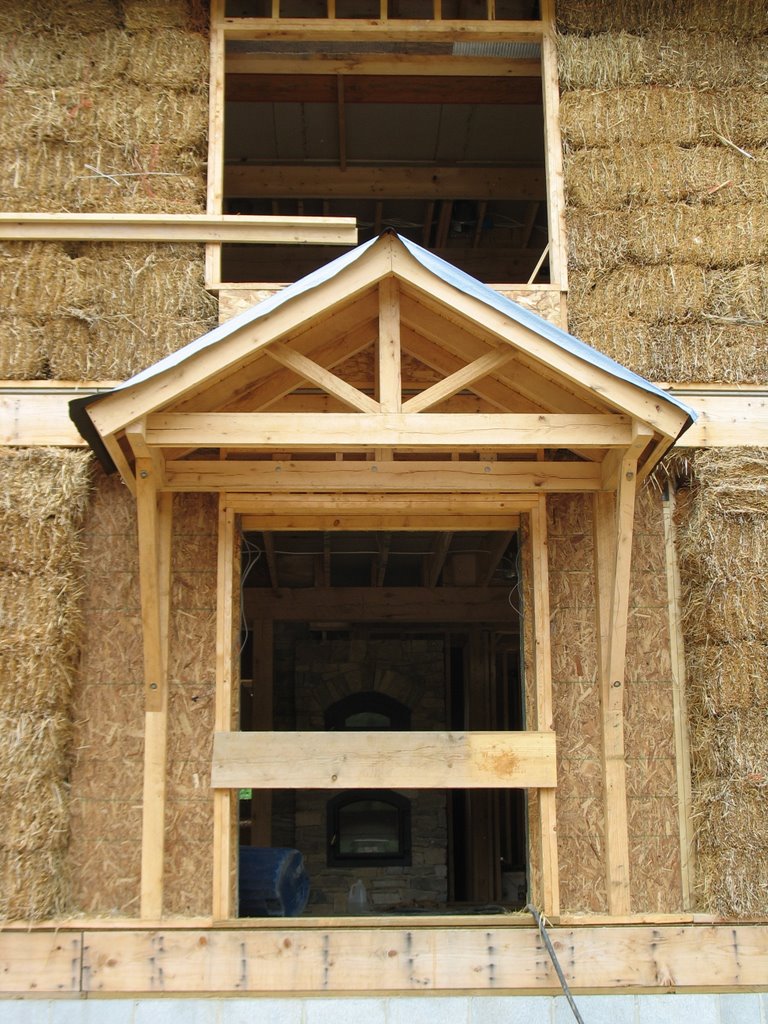
Framing work has also been moving forward along with the plastering. A post and beam roof structure will protect the doorway from the dining room out to an eventual stone patio . . .
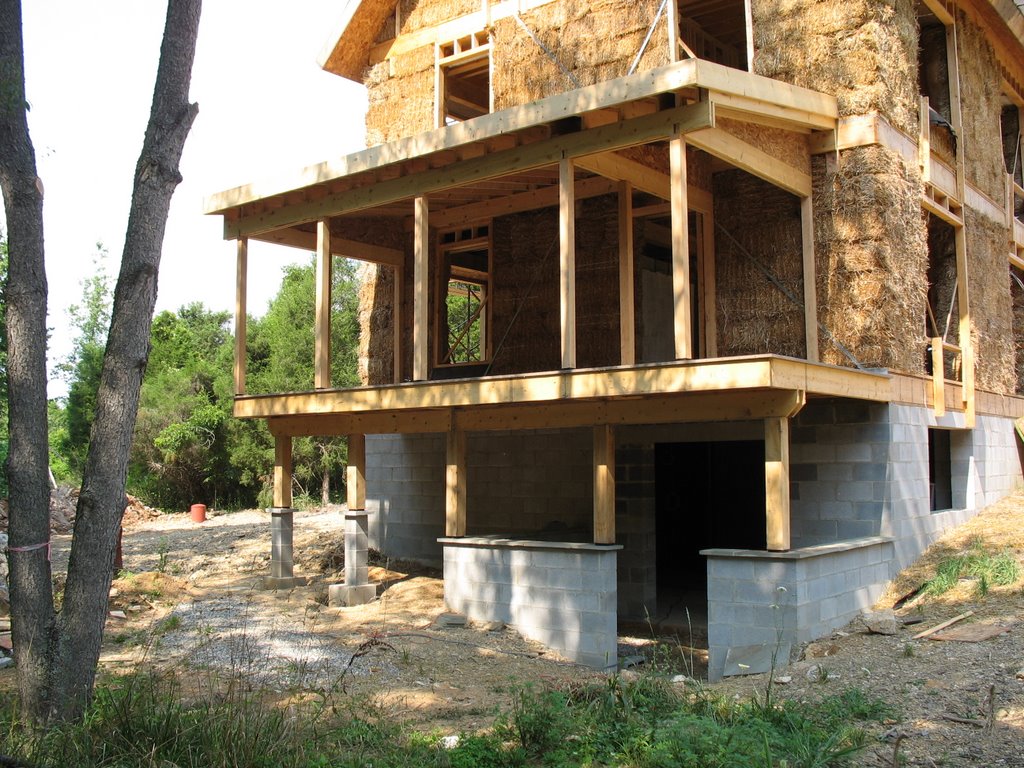
And the roof over the screened porch has been completed as well . . .
Thanks for visiting! More to come . . .
posted by Jeff & Kristin @ 2:26 PM
1 comments
![]()

1 Comments:
Great photos, thank you, and I'm hoping you will share your plaster recipe. I'm also building a straw bale house (with a niche just like yours) and have tried both cob and lime for the plaster, with varying amounts of each ingredient, but I'm having a terrible time with cracking and dusting. My walls don't look anything like yours. Please help!
Post a Comment
<< Home