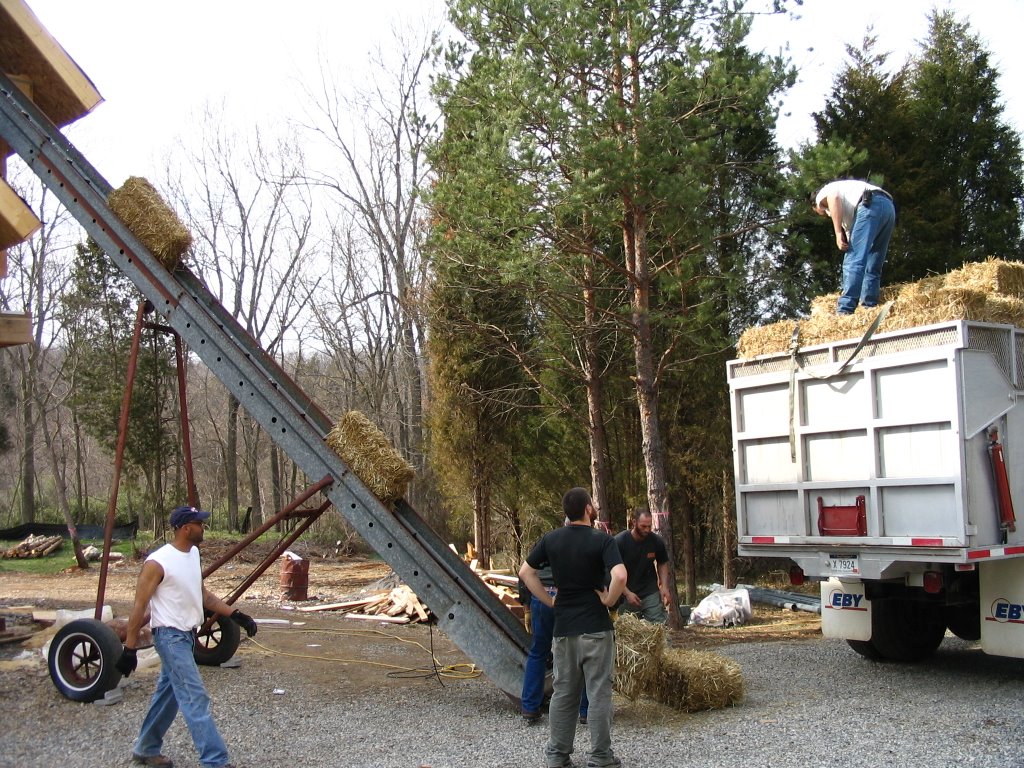
 We borrowed a hay elevator from a local farmer to help with unloading the bales. Here they are being conveyed up to the third level of the house.
 We bought 650 bales of locally-grown straw. The straw doesn't have to be anything special though bales that are uniform in size is sure helpful.
Sigi Koko, our architect and strawbale expert, gives basic instructions to the crew on the first day of strawbaling.
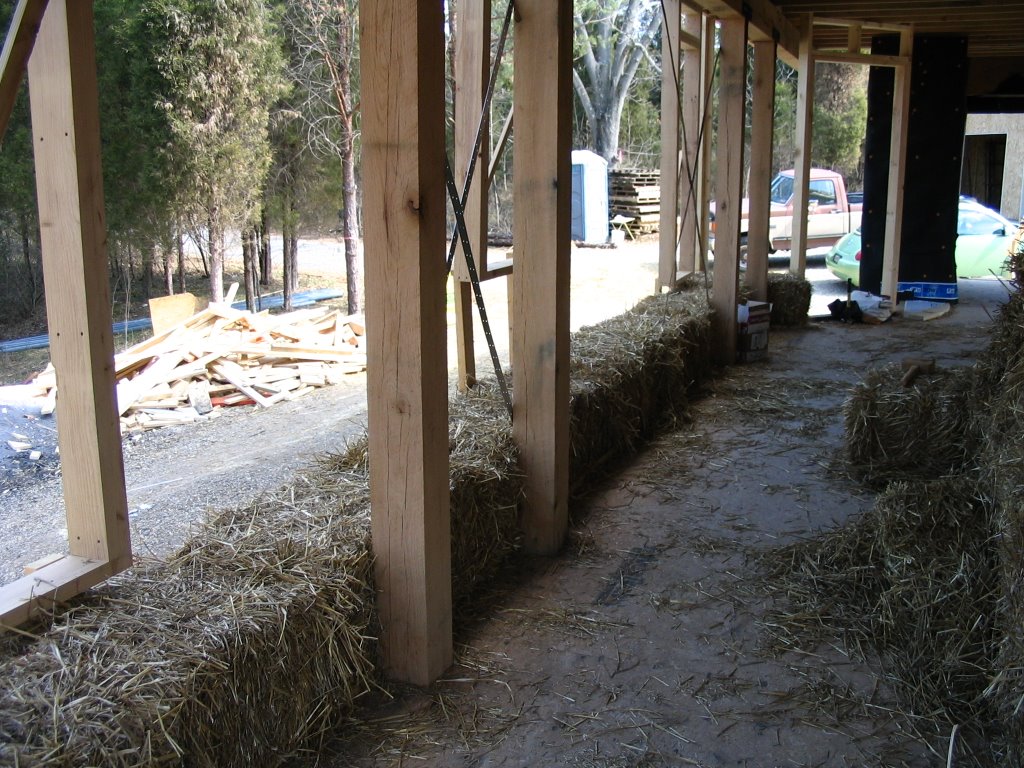 The first course of bales is laid up along one of the walls. The bales sit between the posts and the edge of the floor deck to create 18-inch thick walls with an heat resistance value (R-value) somewhere between 36 and 42. The posts will remain exposed on the inside of the walls.
 25 or so friends, family, and neighbors came out both days to help us lay up our bale walls. None of these folks had ever done strawbale work before.
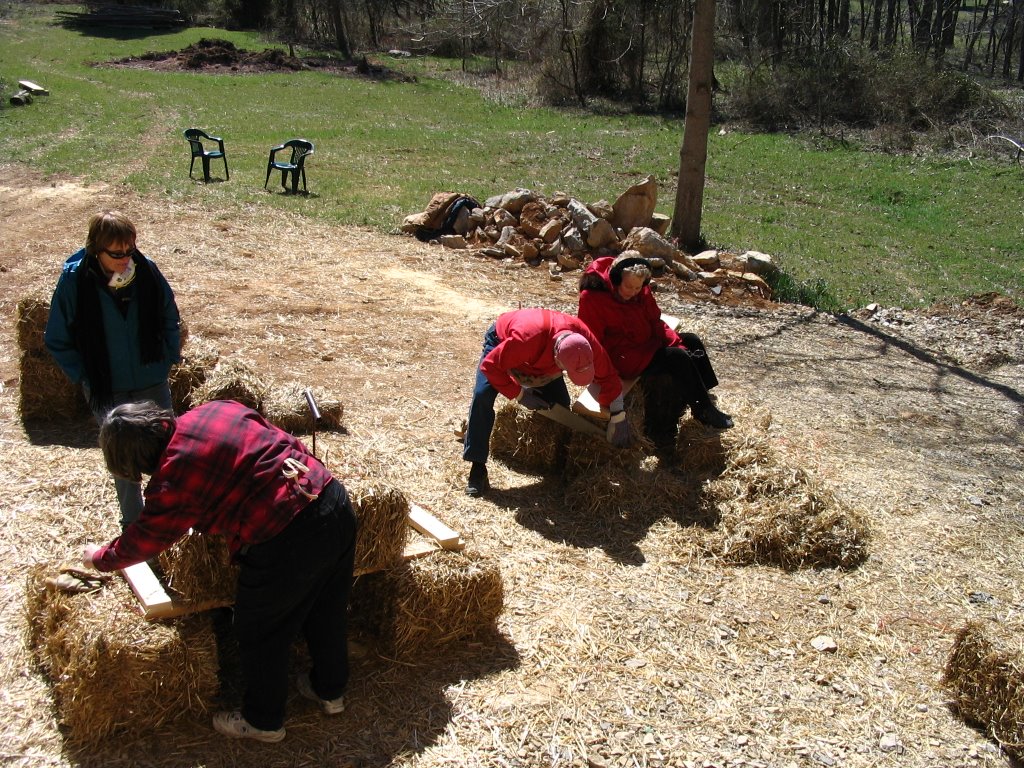
This was our production shop, making specially sized and notched bales to fit up into the floor joists and around the beams.

Tom ties several bale flakes together to form a custom-sized "mini" bale to fit up into a joist pocket.

Bales are stacked up to and around a window buck. Windows will sit the outside of the wall leaving deep window sills inside.
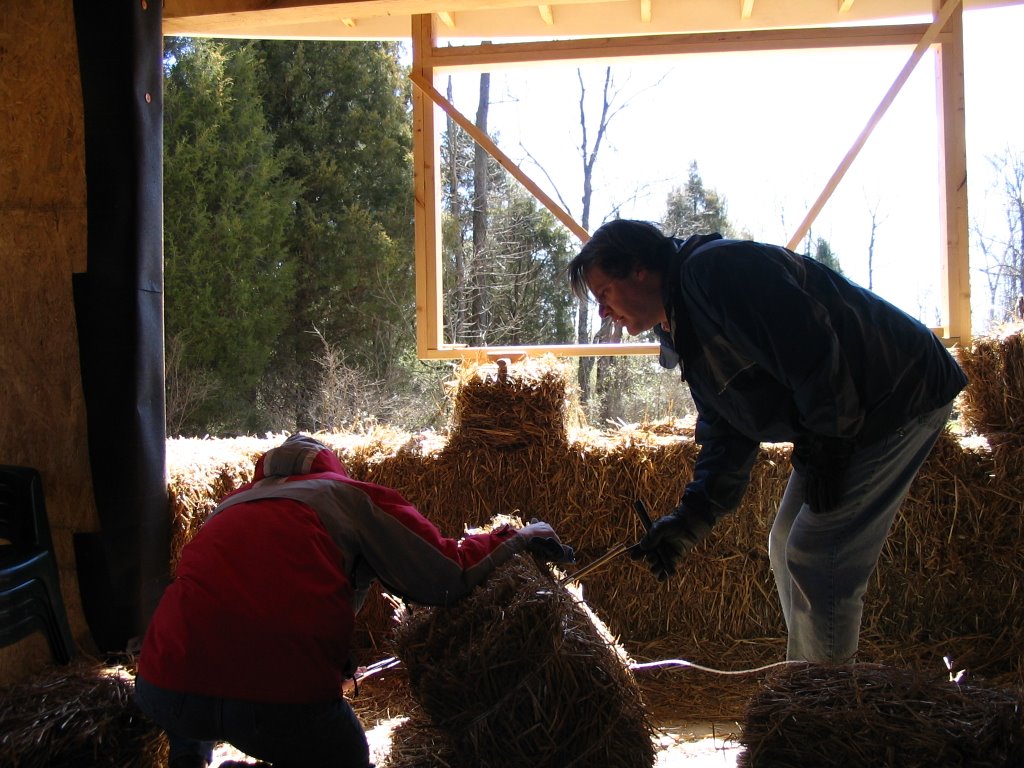
Gordon and Lisa use a baling needle to thread twine through a bale in order to resize it.
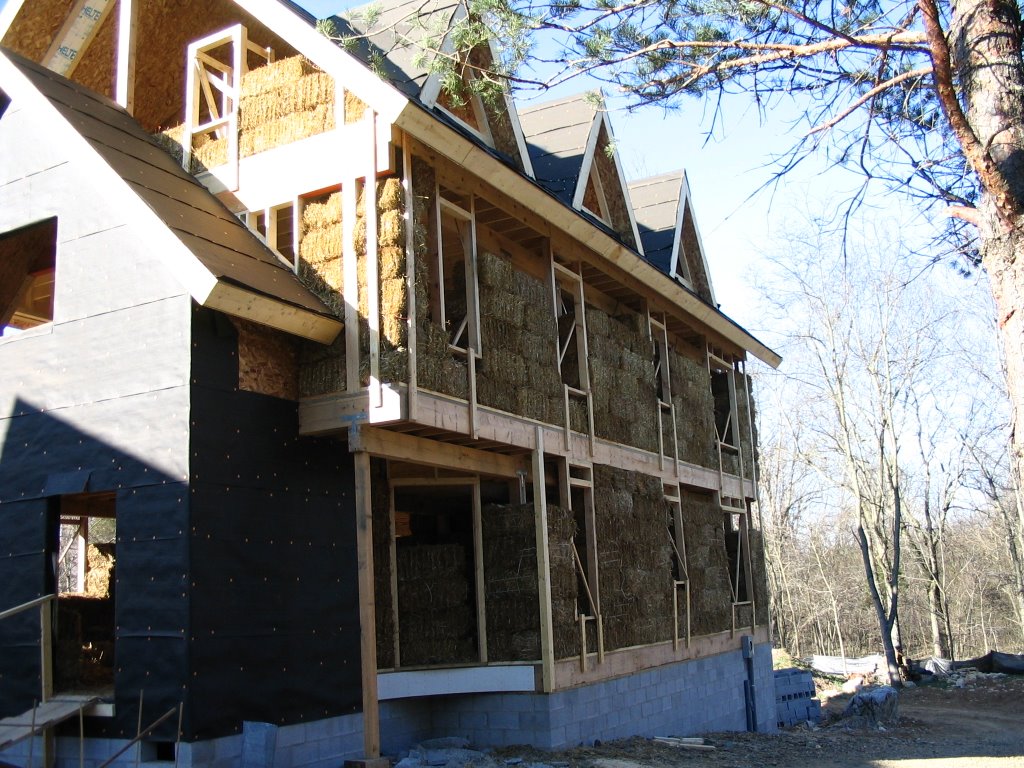 Most of the walls are up in this view of the NE corner of the house. The bumpout section in the foreground is constructed of SIP panels and will not be baled.
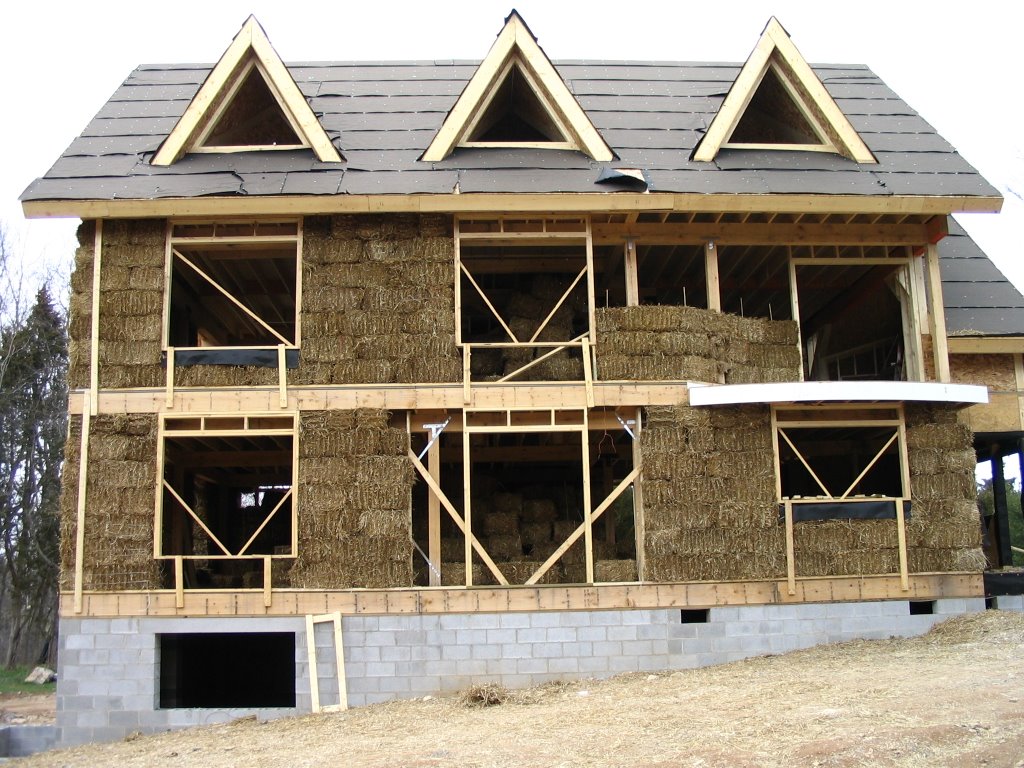 The south side of the house is just about fully walled up. Note the curving wall on the second floor . . . this will enclose a balcony off the master bedroom.
posted by Jeff & Kristin @ 3:13 PM
1 comments
![]()
